Your Easy Guide to Activating Ubuntu Pro Through the Security Center
Introduction
Configuring your Ubuntu system’s security features might once have involved navigating the old Software & Updates tool, but starting with Ubuntu 26.04 LTS, those settings have moved to the Security Center app. This change not only simplifies the process but also makes the interface cleaner and more intuitive. Whether you are a home user looking to protect personal devices or a professional managing a fleet, enabling Ubuntu Pro is now straightforward—and often free for individuals. In this guide, you will learn step‑by‑step how to activate Ubuntu Pro using the Security Center, with practical tips to get the most out of the service.

What You Need
- A computer running Ubuntu 26.04 LTS or later – the Security Center app is included by default.
- An Ubuntu One account – if you do not have one, you can create it during the process.
- Internet connection – needed to authenticate and download updates.
- Optional: A subscription token – only if you are enrolling a commercial or enterprise device. Personal use (up to five machines) is free.
Step‑by‑Step Instructions
Step 1: Open the Security Center
Click on the Activities overview (top‑left corner) or press the Super key (usually the Windows key) and type Security Center. Click the app icon that appears. You can also find it in the system menu—look for a small shield icon near the clock. The Security Center will open, showing an overview of your system’s security status.
Step 2: Navigate to the Ubuntu Pro Section
Inside the Security Center, you will see several tabs. Look for the Ubuntu Pro tab—it is usually marked with a small Ubuntu logo or a “Pro” badge. Click on it. The layout here is much roomier than the old Software & Updates tab, with clear explanations for each toggle and setting. This is where all the magic happens.
Step 3: Choose Your Subscription Plan
You will see two primary options:
- Personal use (free) – for up to five machines. No payment required.
- Commercial / Enterprise (paid) – ideal for businesses, organizations, or anyone managing multiple Ubuntu installations. A subscription token is required.
Select the one that fits your situation. If you are a home user, simply choose the free option. The Security Center will guide you to the next step.
Step 4: Log In or Create an Ubuntu One Account
To proceed, you need to authenticate your identity. Click the Log In button. If you already have an Ubuntu One account, enter your credentials. If not, you can create a new account directly from this window—the form is simple and only requires an email address and a password. Once logged in, the Security Center will verify your subscription status.
Step 5: Enter Your Token (If Required)
For personal free use, you can skip this step—the system will automatically link your account. However, for paid subscriptions, you will see a field to paste your token. This token is provided when you purchase a subscription from Ubuntu’s store or your company’s license manager. Copy the token exactly (including hyphens) and paste it into the box. Press Apply or Activate.
Step 6: Review and Confirm Settings
After authenticating, the Security Center will display a summary of the services that come with Ubuntu Pro, such as:
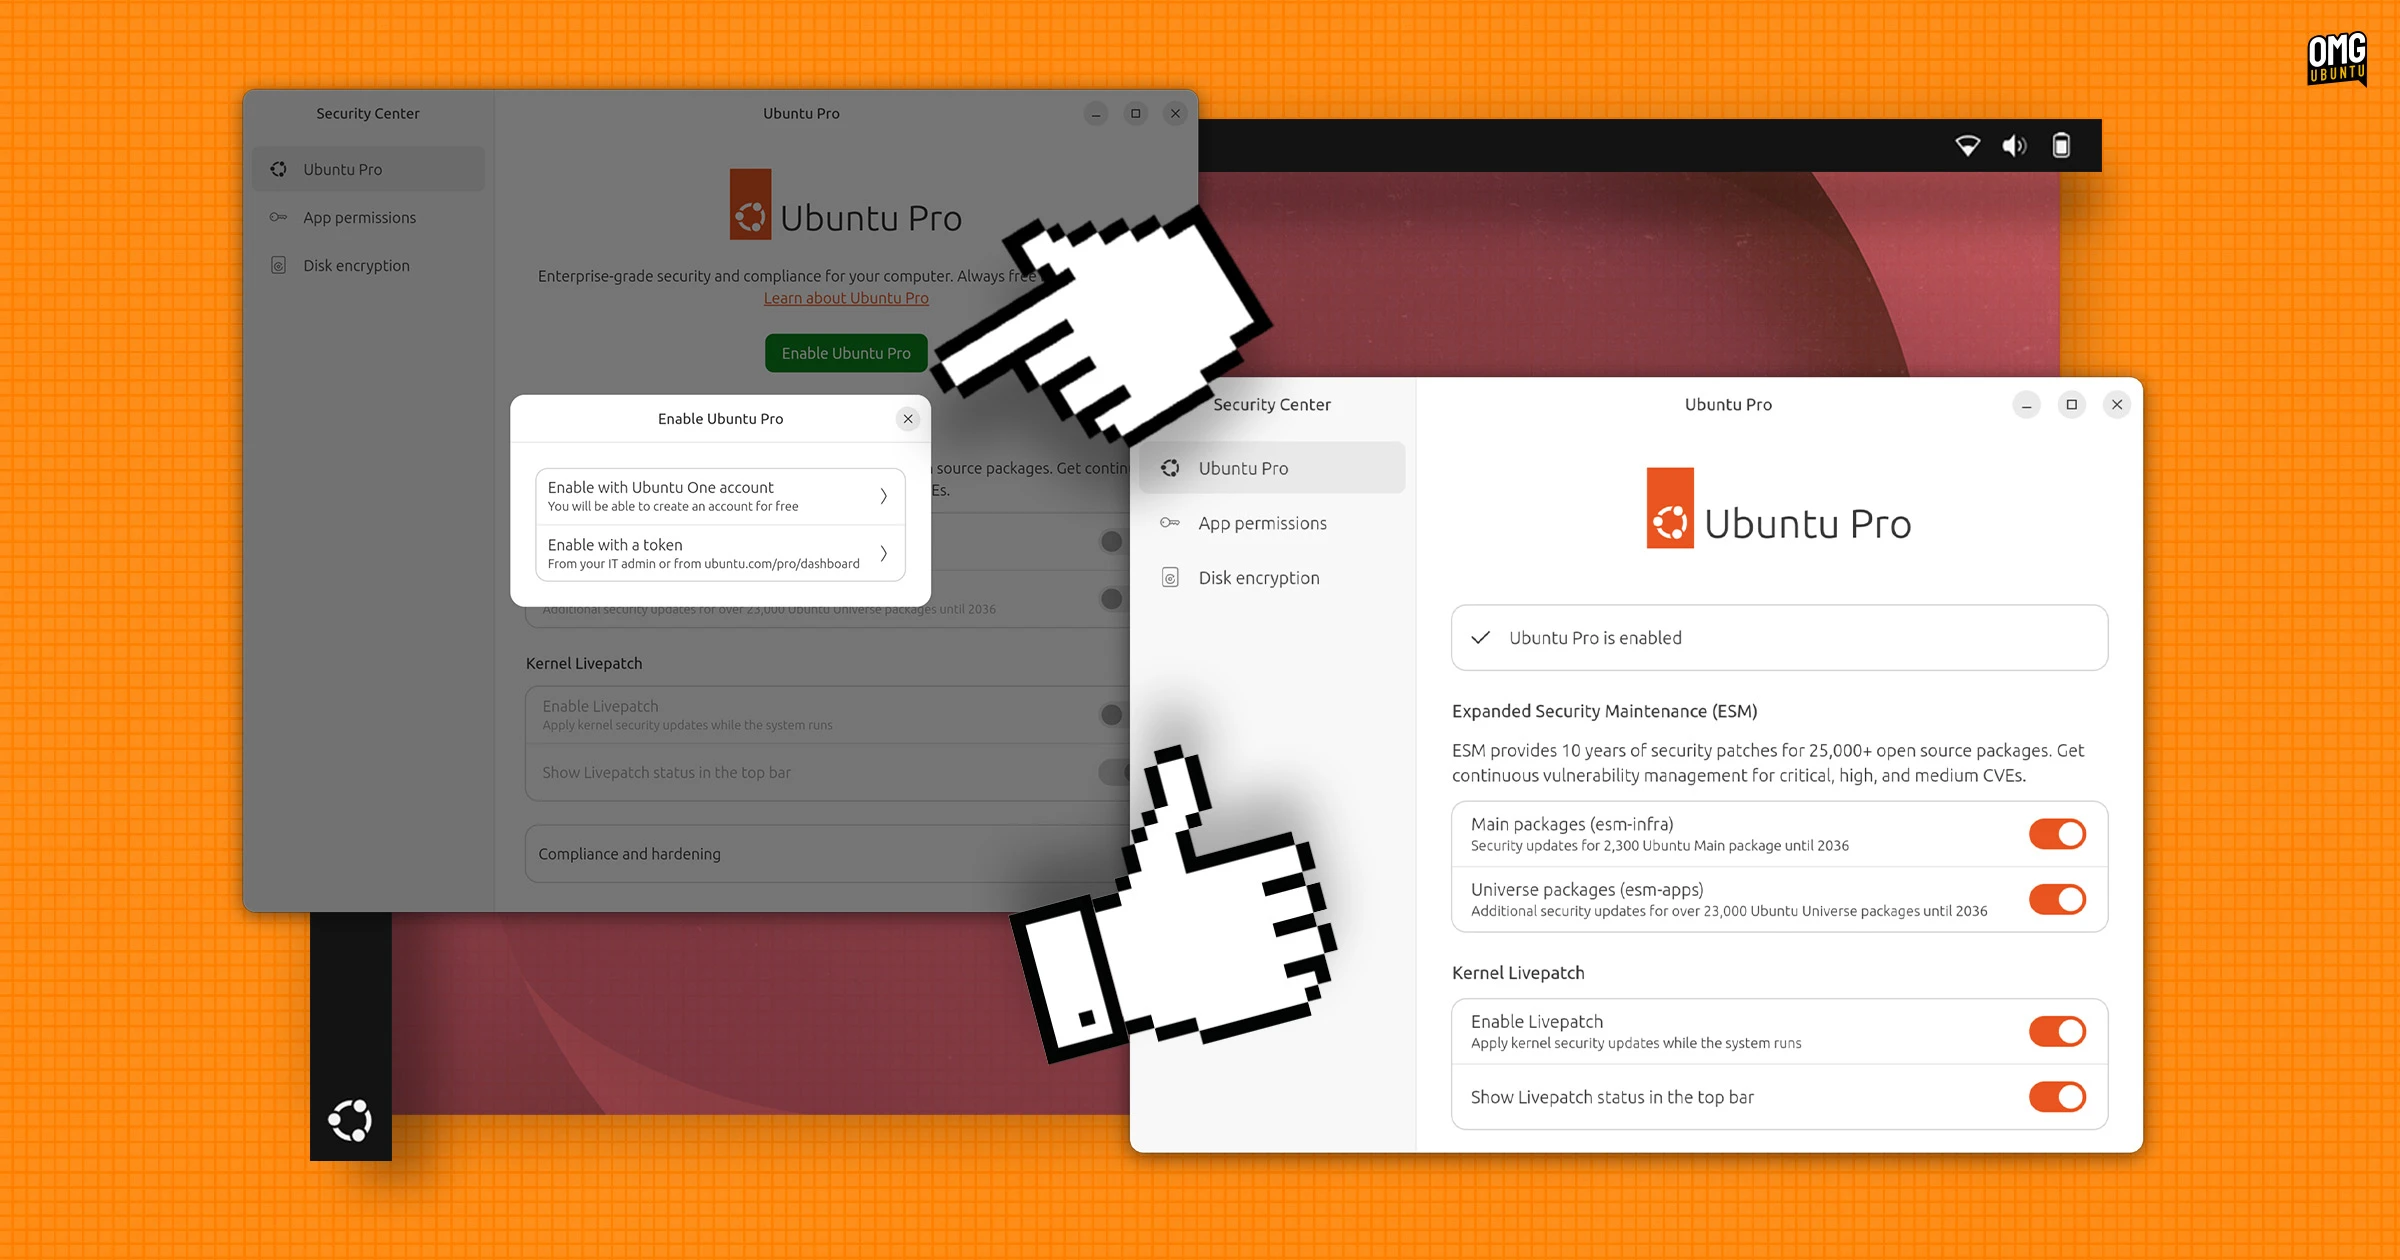
- Extended Security Maintenance (ESM) – security updates for core packages for 10 years.
- Livepatch – automatic kernel security patches without rebooting.
- FIPS and CC‑EAL compliance tools – for regulated environments.
Toggle each option according to your needs. For most home users, leaving everything enabled is fine. If you are in a regulated industry, you may want to enable only the compliance suites. The Security Center’s descriptions are concise and helpful, so take a moment to read them.
Step 7: Finalize Activation
Once you are happy with your selections, click the Save or Activate Ubuntu Pro button. The system will now contact the Ubuntu Pro servers to confirm your subscription. This may take a few seconds. You will see a success message, and the Security Center will show a green checkmark next to “Ubuntu Pro” on the main screen. Congratulations—you’re set!
Tips for a Smooth Experience
- Keep your account details handy. If you use the free personal plan, note that it covers only five devices. To manage your machines, log in to your Ubuntu Pro dashboard.
- Check for updates after activation. Run
sudo apt update && sudo apt upgradein a terminal to immediately apply the new security patches. - If you encounter errors, verify your internet connection and ensure that the system clock is correct. An incorrect time can cause certificate validation failures.
- For organizations, use the token management portal to generate tokens for each device. This avoids sharing a single token across many machines.
- The Security Center interface is designed to be self‑explanatory. If you ever want to change your Pro settings, simply return to the Ubuntu Pro tab and adjust toggles.
- Remember: Ubuntu Pro offers more than just security updates. Explore the additional tools like Landscape (for remote management) if you have a paid subscription.
With these steps, activating Ubuntu Pro via the Security Center is not only easy but also clearer than the old Software & Updates method. The improved layout and guided workflow make it accessible for everyone—from students to sysadmins. Enjoy the peace of mind that comes with up‑to‑date security.